Pumpkin Care Instructions
Pumpkin After-Care: Post-Install Instructions
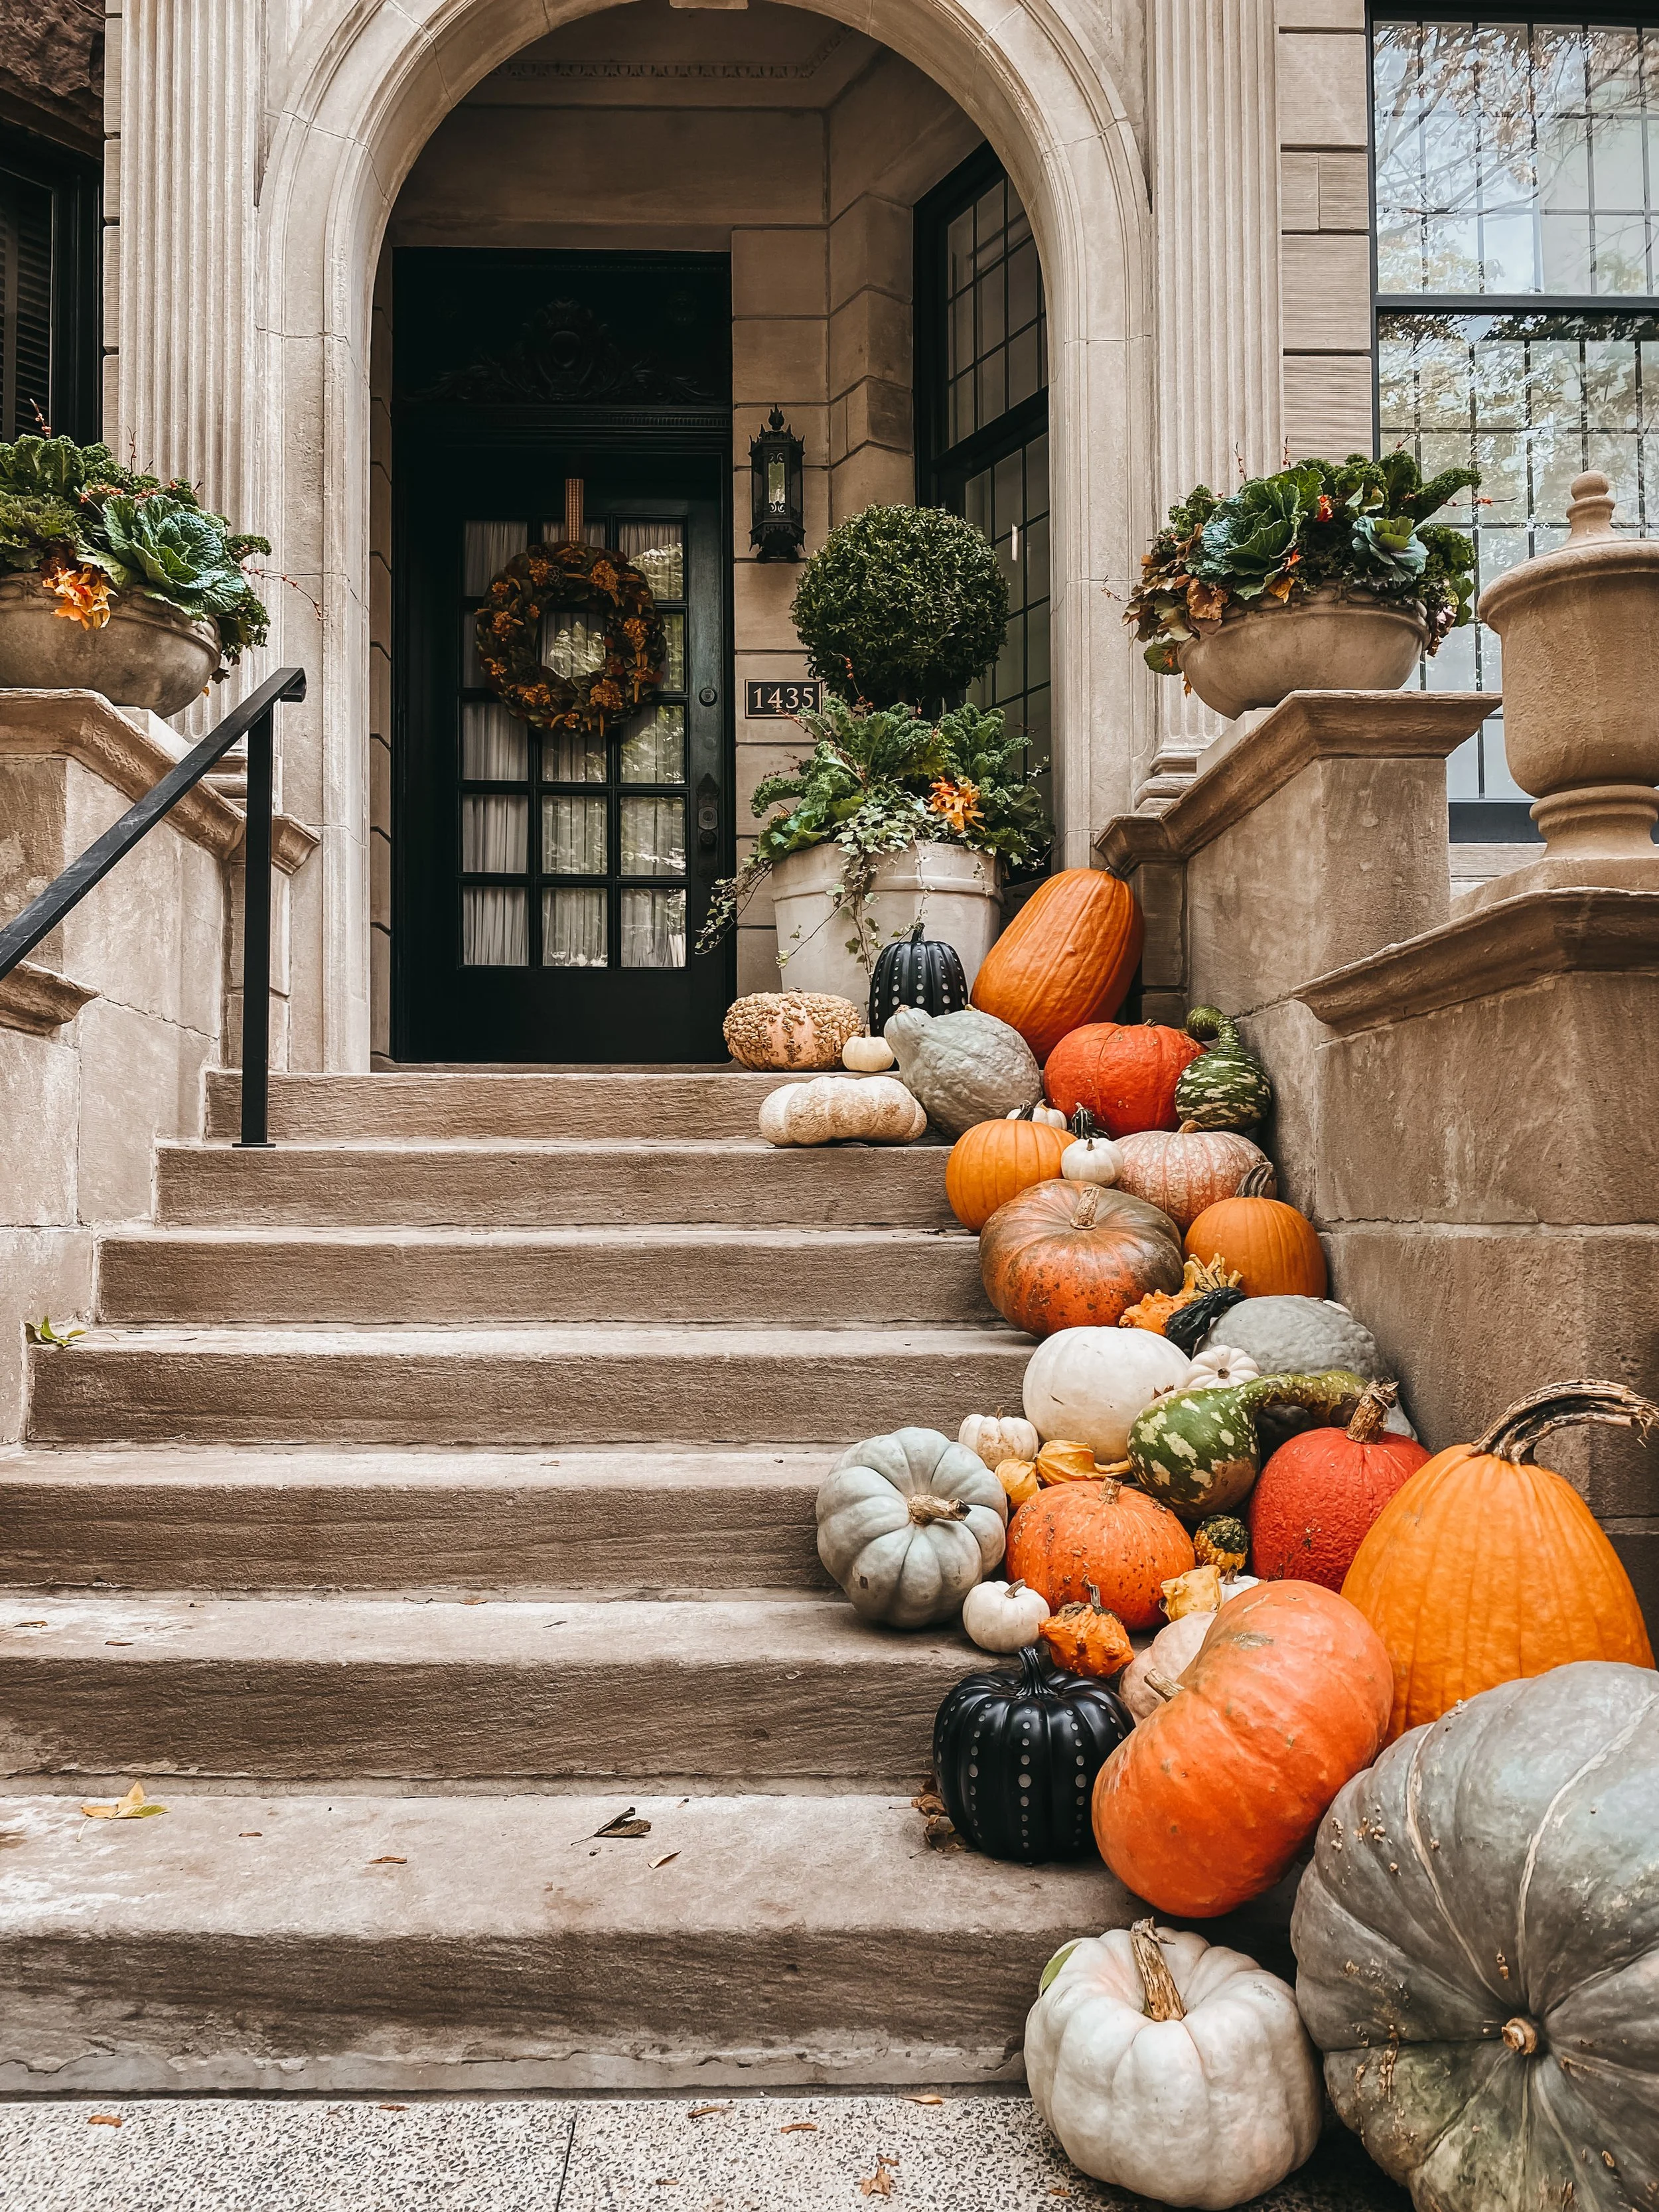
Your stoop is styled to last, but a little TLC goes a long way! Think of your pumpkins like a bottle of wine — they age best when stored in the right conditions.
Pumpkin 101 📚
Cool, dry, shaded spots are your pumpkins’ best friend.
Direct, blazing sun will cause them to age prematurely.
Damp surfaces (like grass and dirt) can shorten their life, so we layer with straw bales, grapevine wreaths, and stacking techniques where possible to help them last.
Keep them dry! Sprinkler systems can cause premature rotting, so if your stoop is in their path, try adjusting the spray pattern or watering schedule to avoid daily soaking.
From Patch to Porch 🎃
Your pumpkins are already ahead of the curve:
Harvested just 1-2 weeks before your install.
Cleaned twice — once at the farm, then each individually hand-scrubbed in the city with a vinegar and dish soap wash to keep bacteria at bay.
Finished with a touch of baby oil during installation to keep them hydrated and shiny all season long.
When your pumpkins start to look less shiny, you can re-finish them with baby oil and a spray bottle!
Critter Control 🐿️
The vinegar bath and baby oil is enough to keep most curious visitors from eating your pumpkins!
If squirrels or other curious visitors still stop by:
VINEGAR works like a charm! Dilute 50/50 with water in a spray bottle and apply liberally.
Try this natural mint-based spray (safe + effective)
Inexpensive hair spray will deter them, but it washes off in the rain. Remember to reapply!
We have some clients that stick these squirrel repellent pouches into their pumpkin displays.
More Intense Critter Control 🆘
WD-40 is another option — just use with care on certain surfaces.
A clear enamel spray also works! Also available in a Matte finish. Again, use with caution! This can cause already decaying pumpkins to crumble.
If you know your porch attracts squirrels no matter what you use, let us know ahead of time! We can finish your pumpkins with this clear acrylic spray, but unfortunately, you will not be able to use our removal service with WasteNot composting.
Carve with Care 🔪
Planning to carve a few of your Jack-O-Lanterns? For best results:
Cut from the bottom, leaving the stem intact.
Coat all exposed cuts with petroleum jelly (like Vaseline) to slow down spoilage.
What about when it rains?
It happens! If it’s just a little rain, the baby oil should repel a decent amount. If your pumpkins get caught in a downpour, give them a quick wipe down with a soft towel or cloth.
Don’t forget the leaf blower hack! A gentle blow dry (on the low setting) works wonders for speeding up the drying process and preventing damp spots for sitting too long.
Check for pooling, especially in deep crevasses on the heirloom pumpkins. If water is collecting at the base, shift pumpkins slightly to keep air flowing underneath.
The Stoop Survival Guide
Cool + shaded > hot sun.
Dry + elevated > damp surfaces or grass.
A little preventative care = a longer-lasting, more beautiful stoop. ✨
Mums the Word 🌼
Now that we’re offering mums, here are some tips and tricks for keeping your mums looking fresh for weeks to come!
They are THIRSTY flowers! But much like the majority of flowers, they do not like for their blooms to get wet. Since their petals are so compact, water build-up will cause those soggy, brown flowers you see. Directly watering the SOIL is what you need to do!
Since they have a mounding habit, it can sometimes be tricky to water the soil directly — especially when they’re mixed in with pumpkins!
Because of their shape, rain water rarely reaches the soil. After a rain, don’t be afraid to pick up the pot and shake the water off of the flowers.
The biggest hack is watering FROM THE BOTTOM!! Pick up and place the nursery pot in a shallow bin of water and leave it — anywhere from 20 minutes up to a few hours. You won’t believe how much water they will suck up!! Especially if they’re coming from a big box garden center instead of a nursery.
We now install mums with little saucers underneath the pots to help keep them hydrated! This should make it easier to water without messing up your display, as you can just use a little bottle or indoor watering can to easily fill the tray every couple of days!
You don’t want them constantly sitting in water, but watering from the bottom is typically the easiest method.
Also, don’t be afraid of dead-heading once some of the flowers look spent! This encourages the other buds to bloom.
Enjoy your fall install — don’t hesitate to reach out with questions!
For those who asked: a way to say thank you!
We’re so grateful you trusted us with your fall stoop. If your pumpkins brought beauty and joy to your home this season, you’re welcome to leave a tip to support our small design studio. Our work is a true labor of love — hauling hundreds of pounds of pumpkins, hand-scrubbing every single one, and crafting each stack with care. Tips are never expected but always appreciated.